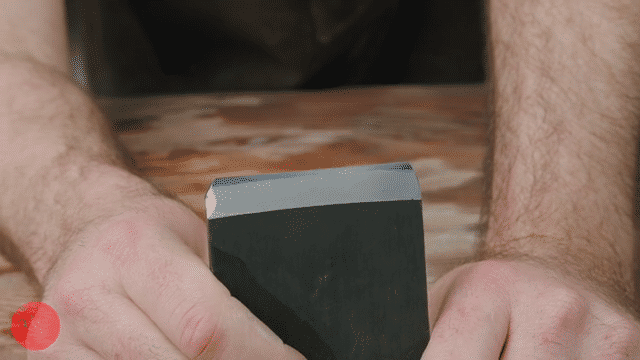
With the back of our plane's blade lapped flat, it is time to turn our attention to the fun side - the bevel. If you have sharpened any plane blade before, you will be familiar with the principles at play here.
Bringing the Cutting Edge Back to Flat

Japanese plane blades usually leave the factory having been finished on a soft wheel or belt. This means that, instead of the hollow ground bevel found on factory-fresh Western tools, Japanese bevels are often domed in the middle.
Diagnosing the shape and state of your blade in the first few minutes of sharpening will show us very quickly how much work will be required, and where we will need to direct our energies.
Hand-Sharpening on Waterstones

The mass and bevel thickness of Japanese plane blades make them an excellent candidate for practicing your hand-sharpening techniques.
Managing the flatness of your waterstones is essential for maintaining control over your bevel shape, and especially important at #1000 grit and below.
Directing your power into the laminated cutting edge steel instead of the softer jigane behind it is a subtle adjustment, but will help deliver faster results.
Don't Deburr too Early
Having carefully lapped and polished the back of the blade, deburring on coarse and medium grit waterstones can only detract from the polished finish you have worked so hard for.
Either leave your deburring until you have worked all the way up to your finest stone, or deburr on your finest stone only while working your bevel up through the lower grits.