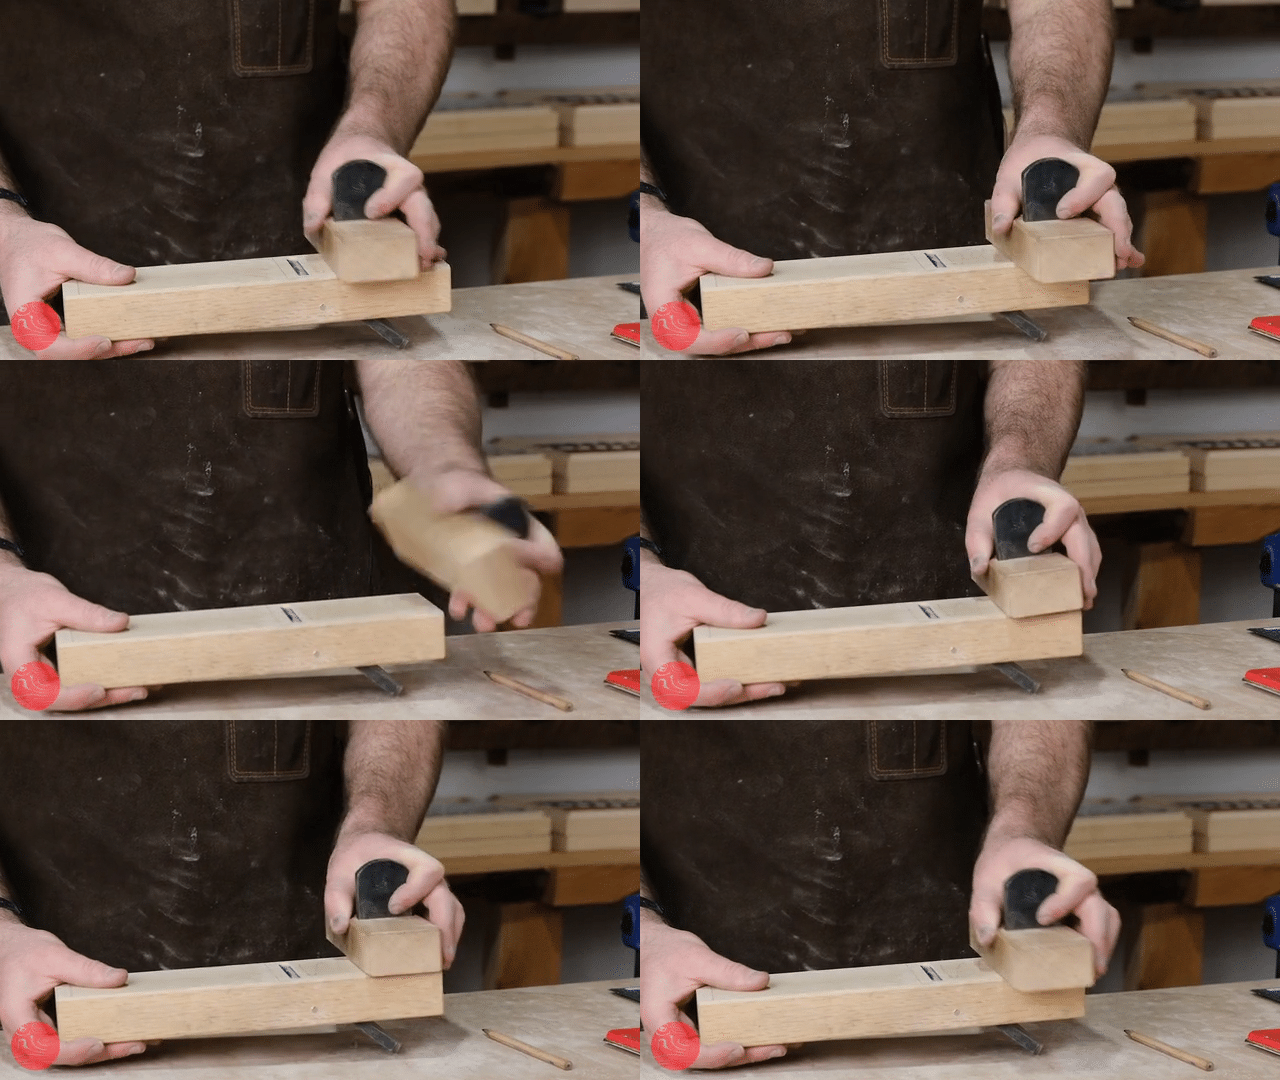
The blade is sharp and set, and it is time to take control of the sole!
Establish Your Contact Patches

The plane will need a contact patch both at the front of the block and at the mouth. This pair is all that is required of a smoothing plane, while a plane designed to straighten or joint will also need a contact patch at the rear of the block.
Regardless of the number of contact patches you would like to give your plane, they will all need to be co-planar - if there is any twist in the block between the contact patches, the plane will not reference your workpiece and won't cut well.
Establish this co-planar relationship by applying sandpaper to a known flat surface (we like glass, and sell it just for this purpose) and making sure that you establish a flat surface where all future contact patches will live. Tracking your progress on the sole with pencil scribbles can be a big help.
Relieve Between Your Contact Patches

Removing a small amount of material (at a maximum, half a millimetre) outside of the contact patches allows the plane to glide along the work with less friction. If you are setting your plane up to smooth, relieving behind the blade allows the plane to ride small undulations in your timber without coming out of the cut.
There are number of tools that can be used to install these reliefs, however, if all you have is sandpaper (P180 is good) and a block of timber, that will definitely suffice.

(Note from Mitch: This video was the last to be shot on a rather busy day and, unfortunately, is not as demonstrative as we would like it to be in terms of using straight edges to diagnose issues in the sole, nor the treatment that may be required around the blade and mouth. We will have to revisit this in a later video. Sorry that it lacks some detail, and if you have questions about it, please give us a call or email.)

