



Getting started with waterstones can look a little intimidating, but the basic principles are surprisingly simple.
With a bit of practice, sharpening becomes less about guesswork and more about reading the stone, the bevel and the edge in front of you.
These three habits will make the biggest difference when you are learning:
- Keep your stones flat.
- Pay attention to what the light is telling you.
- Let each grit finish its job before moving on.
Tip 1: Keep Your Stones Flat

If you want to produce a flat bevel, it helps enormously to start with a flat stone.
Waterstones cut quickly because fresh abrasive is constantly being exposed as the stone wears. That is one of their great strengths, but it also means they gradually dish with use.
If the stone becomes hollow, that shape can begin to transfer to the bevel of the tool you are sharpening.
The solution is simple: flatten your stones regularly rather than waiting until the hollow becomes obvious.
You can use a flattening plate, a suitable diamond plate, or abrasive paper fixed to a known flat surface.
Use the Whole Surface
While sharpening, move your strokes around the stone rather than working in one small area.
This helps distribute wear more evenly and means you spend less time correcting a deeply dished stone later.
Tip 2: Keep an Eye on the Bevel

Your eyes are one of the most useful sharpening tools you own.
The way light reflects off the bevel can tell you a great deal about whether the surface is flat, whether the whole edge has been worked, and whether scratches from a previous stone are still present.
A well-prepared bevel should reflect light evenly across its surface.
If the reflection appears wavy, broken or distorted, the bevel may not yet be consistent.
You are aiming for a clean, even reflection — not the sort of wonky mirror you might find at Luna Park.
Read the Scratch Pattern Too
Do not rely on shine alone.
The scratch pattern left by the stone is equally useful. Fresh scratches show you where the stone is making contact, while untouched patches reveal areas that still need attention.
Together, the scratch pattern and the reflection give you a much clearer picture of what is happening than simply counting strokes.
Tip 3: Work Through the Grits Properly
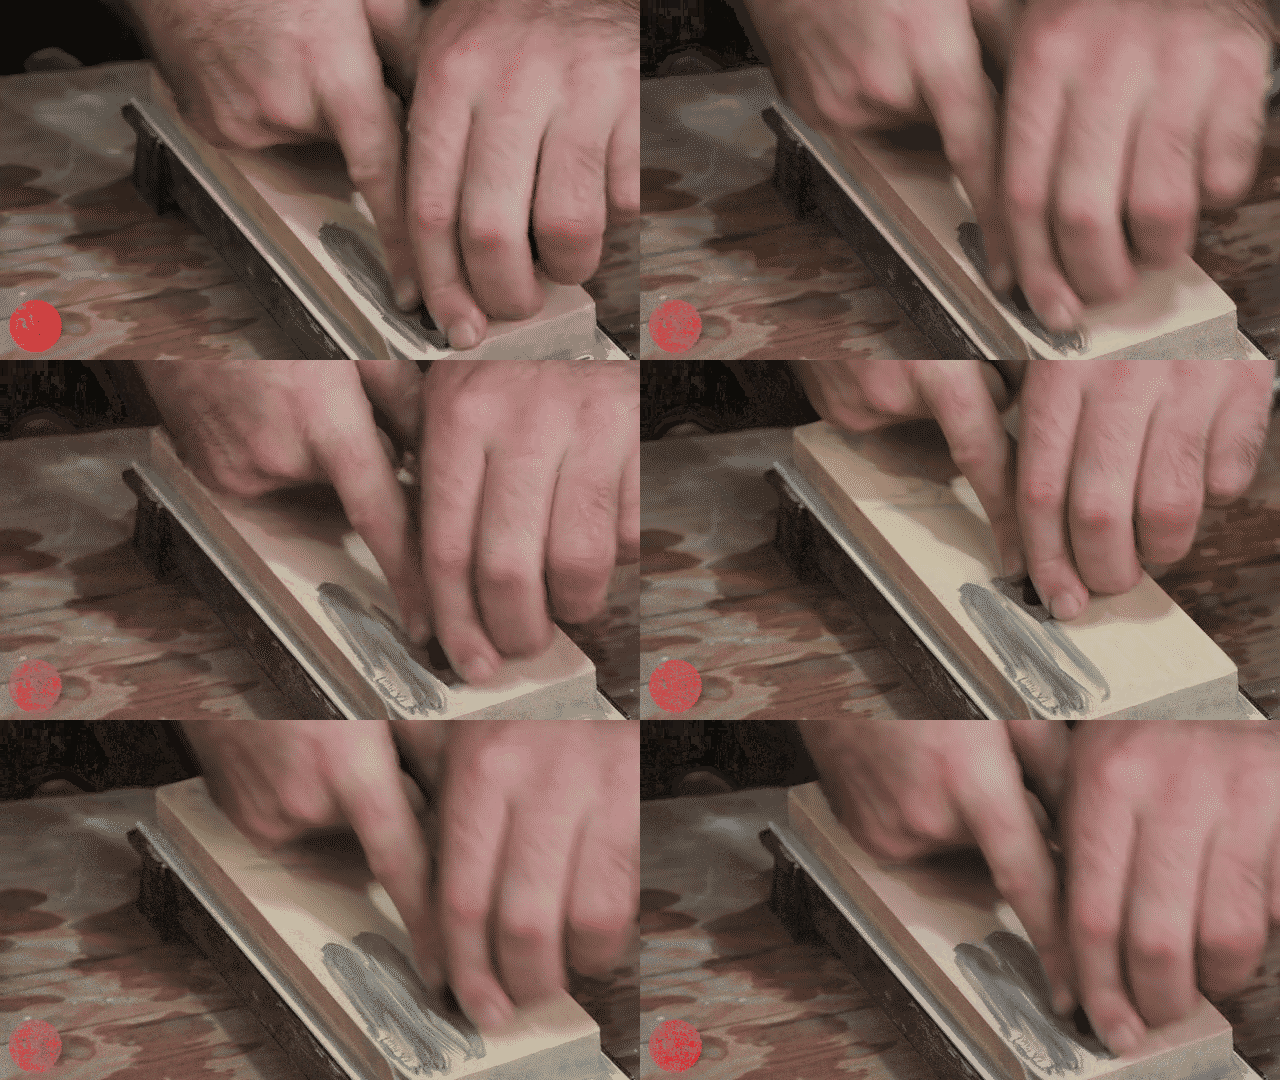
Every stone in your sharpening progression has a job.
The coarser stone establishes the geometry and removes damage. The next stone removes the scratches left by the coarse stone. Finer stones then refine and polish the surface further.
The important part is not to move on too early.
If the medium stone has not removed the scratches from your coarse stone, a fine polishing stone is not going to magically make them disappear.
In fact, moving up too quickly usually makes sharpening slower because the finer stone is being asked to remove scratches that should already have been dealt with.
Let Each Stone Finish Its Job
Before changing grit, look closely at the bevel.
You want the scratch pattern from the current stone to have replaced the previous one consistently across the area you are sharpening.
Once that has happened, move on.
It is much more efficient to spend a little longer on the correct stone than to rush into finer grits and spend much longer trying to correct earlier work.
Three Habits That Make Sharpening Easier
Waterstone sharpening does not need to be complicated.
Keep the stone flat, keep looking at what the bevel is telling you, and do not move through the grits until each stage is genuinely complete.
Those three habits will take you a long way.
Once they become automatic, sharpening stops feeling like a mysterious process and starts becoming another useful workshop skill — one that gets faster, easier and considerably more satisfying with practice.


